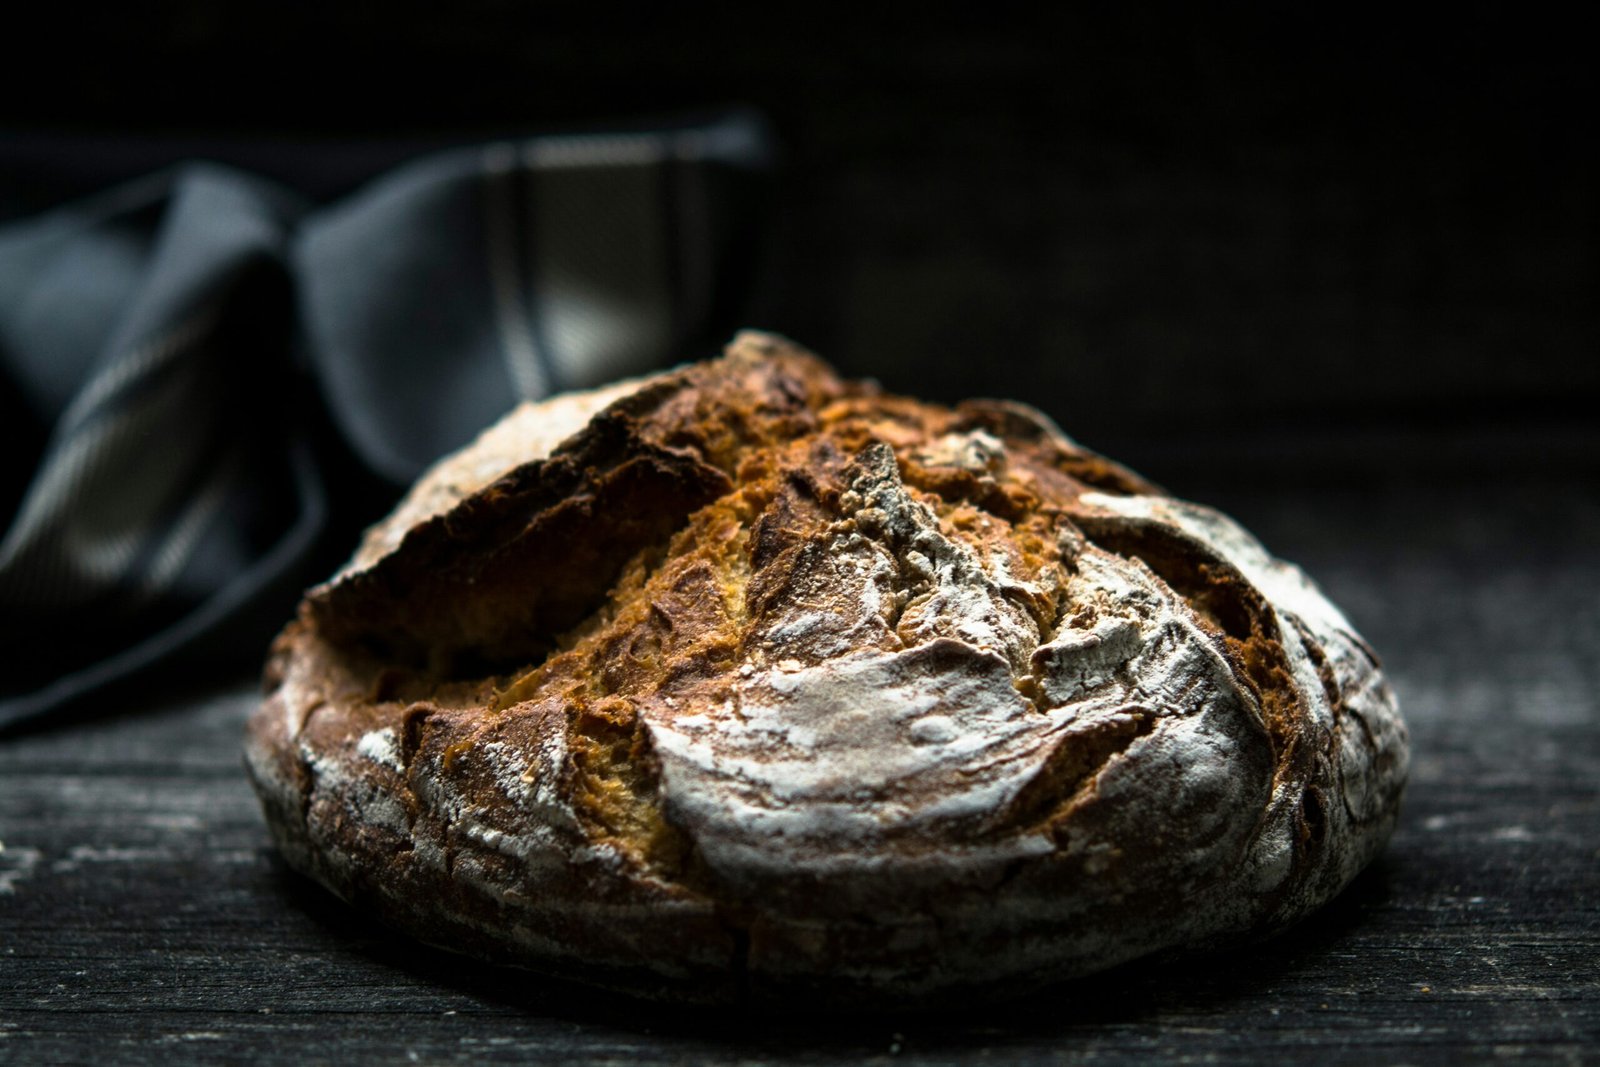
Sourdough bread is a beloved staple in many households, known for its tangy flavor, chewy texture, and rustic crust. While it may seem daunting to make sourdough bread from scratch, especially for beginners, it’s a rewarding process that yields delicious results. In this step-by-step guide, we’ll demystify the art of sourdough bread making and walk you through the process from start to finish.
1. Understanding Sourdough
Before diving into the bread-making process, let’s take a moment to understand what sourdough is. Sourdough bread is made using a natural fermentation process that relies on wild yeast and lactobacilli bacteria present in flour and the environment. This fermentation process gives sourdough bread its distinctive flavor and helps create its characteristic open crumb structure.
2. Creating Your Sourdough Starter
The key ingredient in sourdough bread is the sourdough starter, a mixture of flour and water that has been fermented by wild yeast and lactobacilli bacteria. To create your sourdough starter, follow these steps:
Mix equal parts of flour and water in a clean glass jar (e.g., 100 grams of flour and 100 grams of water).
Cover the jar loosely with a clean kitchen towel or cheesecloth and let it sit at room temperature for 24 hours.
After 24 hours, discard half of the starter and feed it with equal parts of flour and water (e.g., 50 grams of flour and 50 grams of water).
Repeat this process every 24 hours, discarding half of the starter and feeding it, until the starter becomes bubbly and active, usually within 5-7 days.
Once your sourdough starter is ready, it’s time to make bread!
3. Mixing the Dough
To make the dough, combine the following ingredients in a large mixing bowl:
400 grams of sourdough starter
400 grams of bread flour
240 grams of water
8 grams of salt
Mix the ingredients together until a shaggy dough forms, then cover the bowl with a clean kitchen towel or plastic wrap and let it rest for 30 minutes.
After the rest period, perform a series of stretch and fold techniques every 30 minutes for the next 2 hours. This helps develop the gluten in the dough and strengthens the dough structure.
4. Shaping and Proofing
Once the dough has been stretched and folded, it’s time to shape it into loaves. Divide the dough in half and shape each half into a round ball. Place the shaped loaves seam side down in floured proofing baskets or bowls lined with clean kitchen towels. Cover the loaves with plastic wrap and let them proof at room temperature for 3-4 hours, or until they have doubled in size.
5. Baking the Bread
Preheat your oven to 450°F (232°C) with a Dutch oven or baking stone inside. Once the oven is preheated, carefully transfer the proofed loaves to the hot Dutch oven or baking stone using a parchment paper sling. Score the tops of the loaves with a sharp knife or bread lame to allow for expansion during baking.
Cover the Dutch oven with its lid or create a steam environment in the oven by spraying water into the oven with a spray bottle. Bake the loaves covered for 20-25 minutes, then remove the lid and bake for an additional 20-25 minutes, or until the crust is golden brown and the loaves sound hollow when tapped on the bottom.
6. Cool and Enjoy
Once the bread is baked, remove it from the oven and let it cool on a wire rack for at least 1 hour before slicing and serving. Enjoy your homemade sourdough bread with butter, jam, cheese, or any other toppings of your choice.
Tips for Success:
Use a kitchen scale to measure your ingredients accurately.
Experiment with different flours and hydration levels to customize your sourdough bread.
Keep your sourdough starter healthy by feeding it regularly and storing it in the refrigerator between uses.
Don’t be discouraged if your first few loaves don’t turn out perfectly – practice makes perfect!
With practice and patience, you’ll soon be baking beautiful loaves of sourdough bread that rival those from your favorite bakery. So roll up your sleeves, dust off your apron, and let the sourdough adventure begin!


