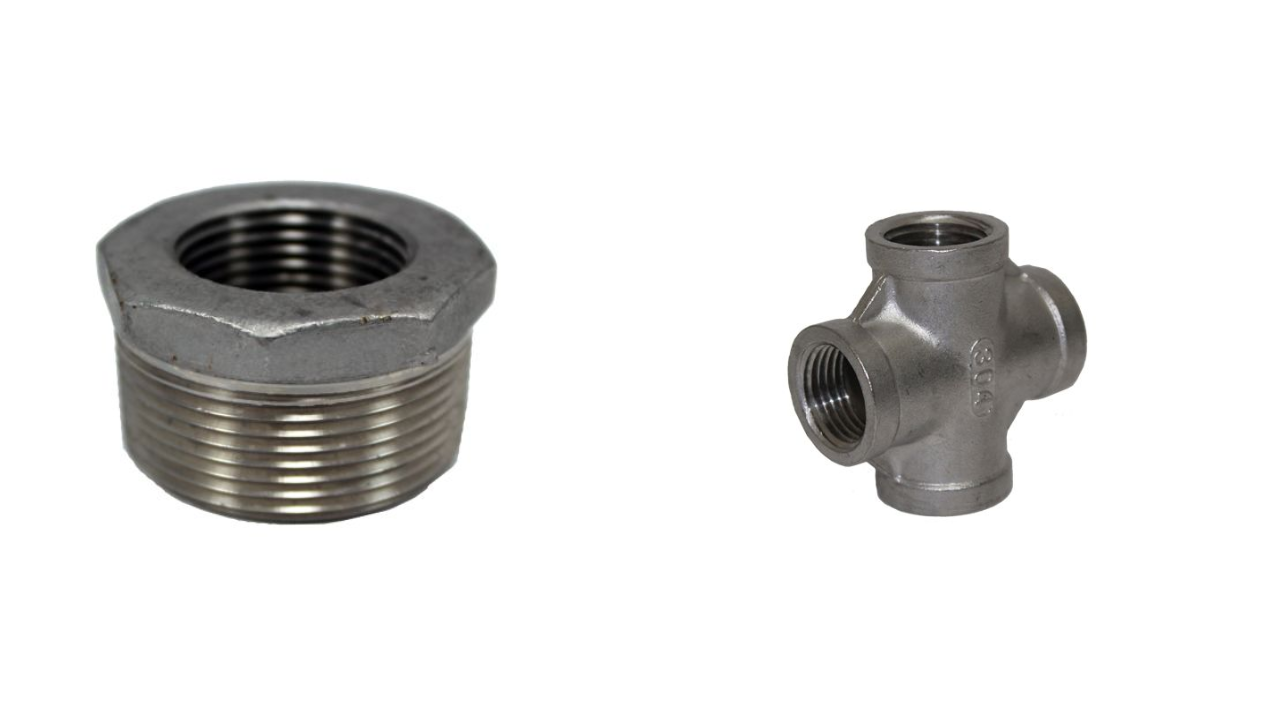
Are you looking to ensure a leak-free, secure connection with NPT fittings?
Stainless steel NPT pipe fittings are considered for their durability and corrosion resistance.However, proper installation is essential to unlock their full potential.
Imagine a hassle-free installation process that keeps your plumbing or fluid handling system performing at its best– no leaks, no repeated adjustments, just reliable connections.
Here, we will dive into how to install NPT fittings safely and effectively. With just a few tools and a bit of preparation, you can achieve a robust, long-lasting setup that will save time and prevent future headaches.
Step 1: Gather Tools and Materials
To get started, gather the following items:
- Stainless steel NPT pipe fittings: Choose the right fittings, such as elbows, tees, or couplings, to suit your specific connection requirements.
- Pipe thread sealant or Teflon tape: Necessary to seal the threads and prevent leaks.
- Pipe wrench: For securely tightening the fittings.
- Wire brush or cleaning tool: To clean the pipe threads before installation.
- Safety equipment: Gloves and goggles for personal protection.
Having the right tools and materials ensures a smooth installation process and contributes to achieving a secure and effective connection.
Step 2: Prepare the Pipe Threads
A clean surface is essential for proper threading. Use a wire brush to remove any dirt, rust, or old sealant from the threads of both the pipe and the NPT fitting. Clean, residue-free threads allow for a tighter, more reliable connection, reducing the chance of leaks.
Once cleaned, inspect the threads on both the pipe and fitting for any signs of wear or damage. Damaged threads can lead to misalignment and compromise the connection. If you find any damaged threads, consider replacing the fitting or pipe.
Step 3: Apply Sealant or Teflon Tape
Applying a sealant to the threads helps create a leak-proof seal. If using Teflon tape, wrap it around the male threads of the stainless steel NPT pipe fitting in the same direction as the threads (typically clockwise). Cover the threads with two or three wraps to ensure a good seal without excessive buildup, which can interfere with threading.
Alternatively, if using pipe thread sealant, apply a thin, even layer on the male threads. Avoid using both Teflon tape and sealant simultaneously, as this can lead to excessive buildup and make threading difficult.
Step 4: Start Threading the Fitting by Hand
After sealing the threads, align the fitting with the pipe and start threading it by hand. Turning the fitting clockwise, continue until you feel resistance. Hand-tightening ensures the threads are properly aligned and reduces the risk of cross-threading, which can damage the threads and weaken the connection.
Stop tightening by hand once the fitting feels snug and you encounter resistance.
Step 5: Tighten with a Pipe Wrench
Once the fitting is hand-tightened, use a pipe wrench to make the connection secure. Turn the fitting another quarter to half turn, but be cautious not to overtighten, as excessive force can damage the threads or even crack the fitting. NPT fittings have tapered threads designed to seal by wedging, so they don’t require over-tightening.
Typically, a quarter or half turn after hand-tightening is enough to create a secure and leak-resistant connection.
Step 6: Inspect for Leaks
After tightening the fitting, it’s time to check for leaks. If you’re working in a water system, turn on the water supply and observe the fitting for any signs of drips. In a gas system, you can apply a soapy water solution around the connection—if bubbles form, this indicates a leak.
If you detect any leaks, try tightening the fitting slightly. Persistent leaks may require reapplying sealant or replacing the fitting.
Step 7: Choose the Right Type of Stainless Steel Fittings
Different types of stainless steel fittings, such as threaded stainless steel pipe fittings, couplings, tees, and reducers, each serve specific purposes and can enhance your system’s performance when used correctly. Understanding the function of each fitting type allows for a more effective and efficient installation. Some common fitting types include:
- Reducers: These connect pipes of different sizes.
- Elbows and Tees: Useful for changing the flow direction in a system.
- Caps and Plugs: Effective for sealing pipe ends.
Selecting the right type of fitting for each application ensures optimal fluid flow and helps prevent issues that may arise from using an unsuitable fitting.
Step 8: Plan for Future Maintenance
Even with a proper installation, fittings may eventually require maintenance due to wear, particularly in high-pressure or corrosive environments. Regularly inspect stainless steel NPT fittings and replace any that show signs of corrosion, wear, or damage. Regular maintenance not only ensures the longevity of your fittings but also reduces the risk of system failures.
Conclusion
Installing stainless steel NPT fittings correctly is essential to creating a durable, leak-resistant connection that supports efficient system performance. By following each step—gathering the right tools, cleaning threads, applying sealant, and using the correct tightening technique—you can ensure a secure fit. Selecting the appropriate fitting types for your system’s specific needs and planning for regular inspections will further extend the life of your fittings. With proper installation and maintenance, stainless steel NPT fittings provide a robust, reliable solution in plumbing and fluid handling systems, ensuring both safety and efficiency for years to come.


